How to write integration tests in Flutter like no other, using the Robot Pattern
Integration Testing with Robot Pattern in Flutter
Introduction
In this tutorial, we will be writing integration tests in Flutter using the Robot Pattern. The goal is to test two modules of the app as a group.
Setting Up
Clone the provided template from the GitHub repository and follow along to implement integration testing step by step.
Robot Pattern
The Robot Pattern involves writing robots for each screen in the app, which will perform actions similar to a user during testing.
Step 1: Import Package
Begin by importing the integration test package in your Flutter project.
Step 2: Create Login Robot
- Create a folder structure for the robot pattern in the Flutter project.
- Create a robot class for the Login screen to interact with the test framework.
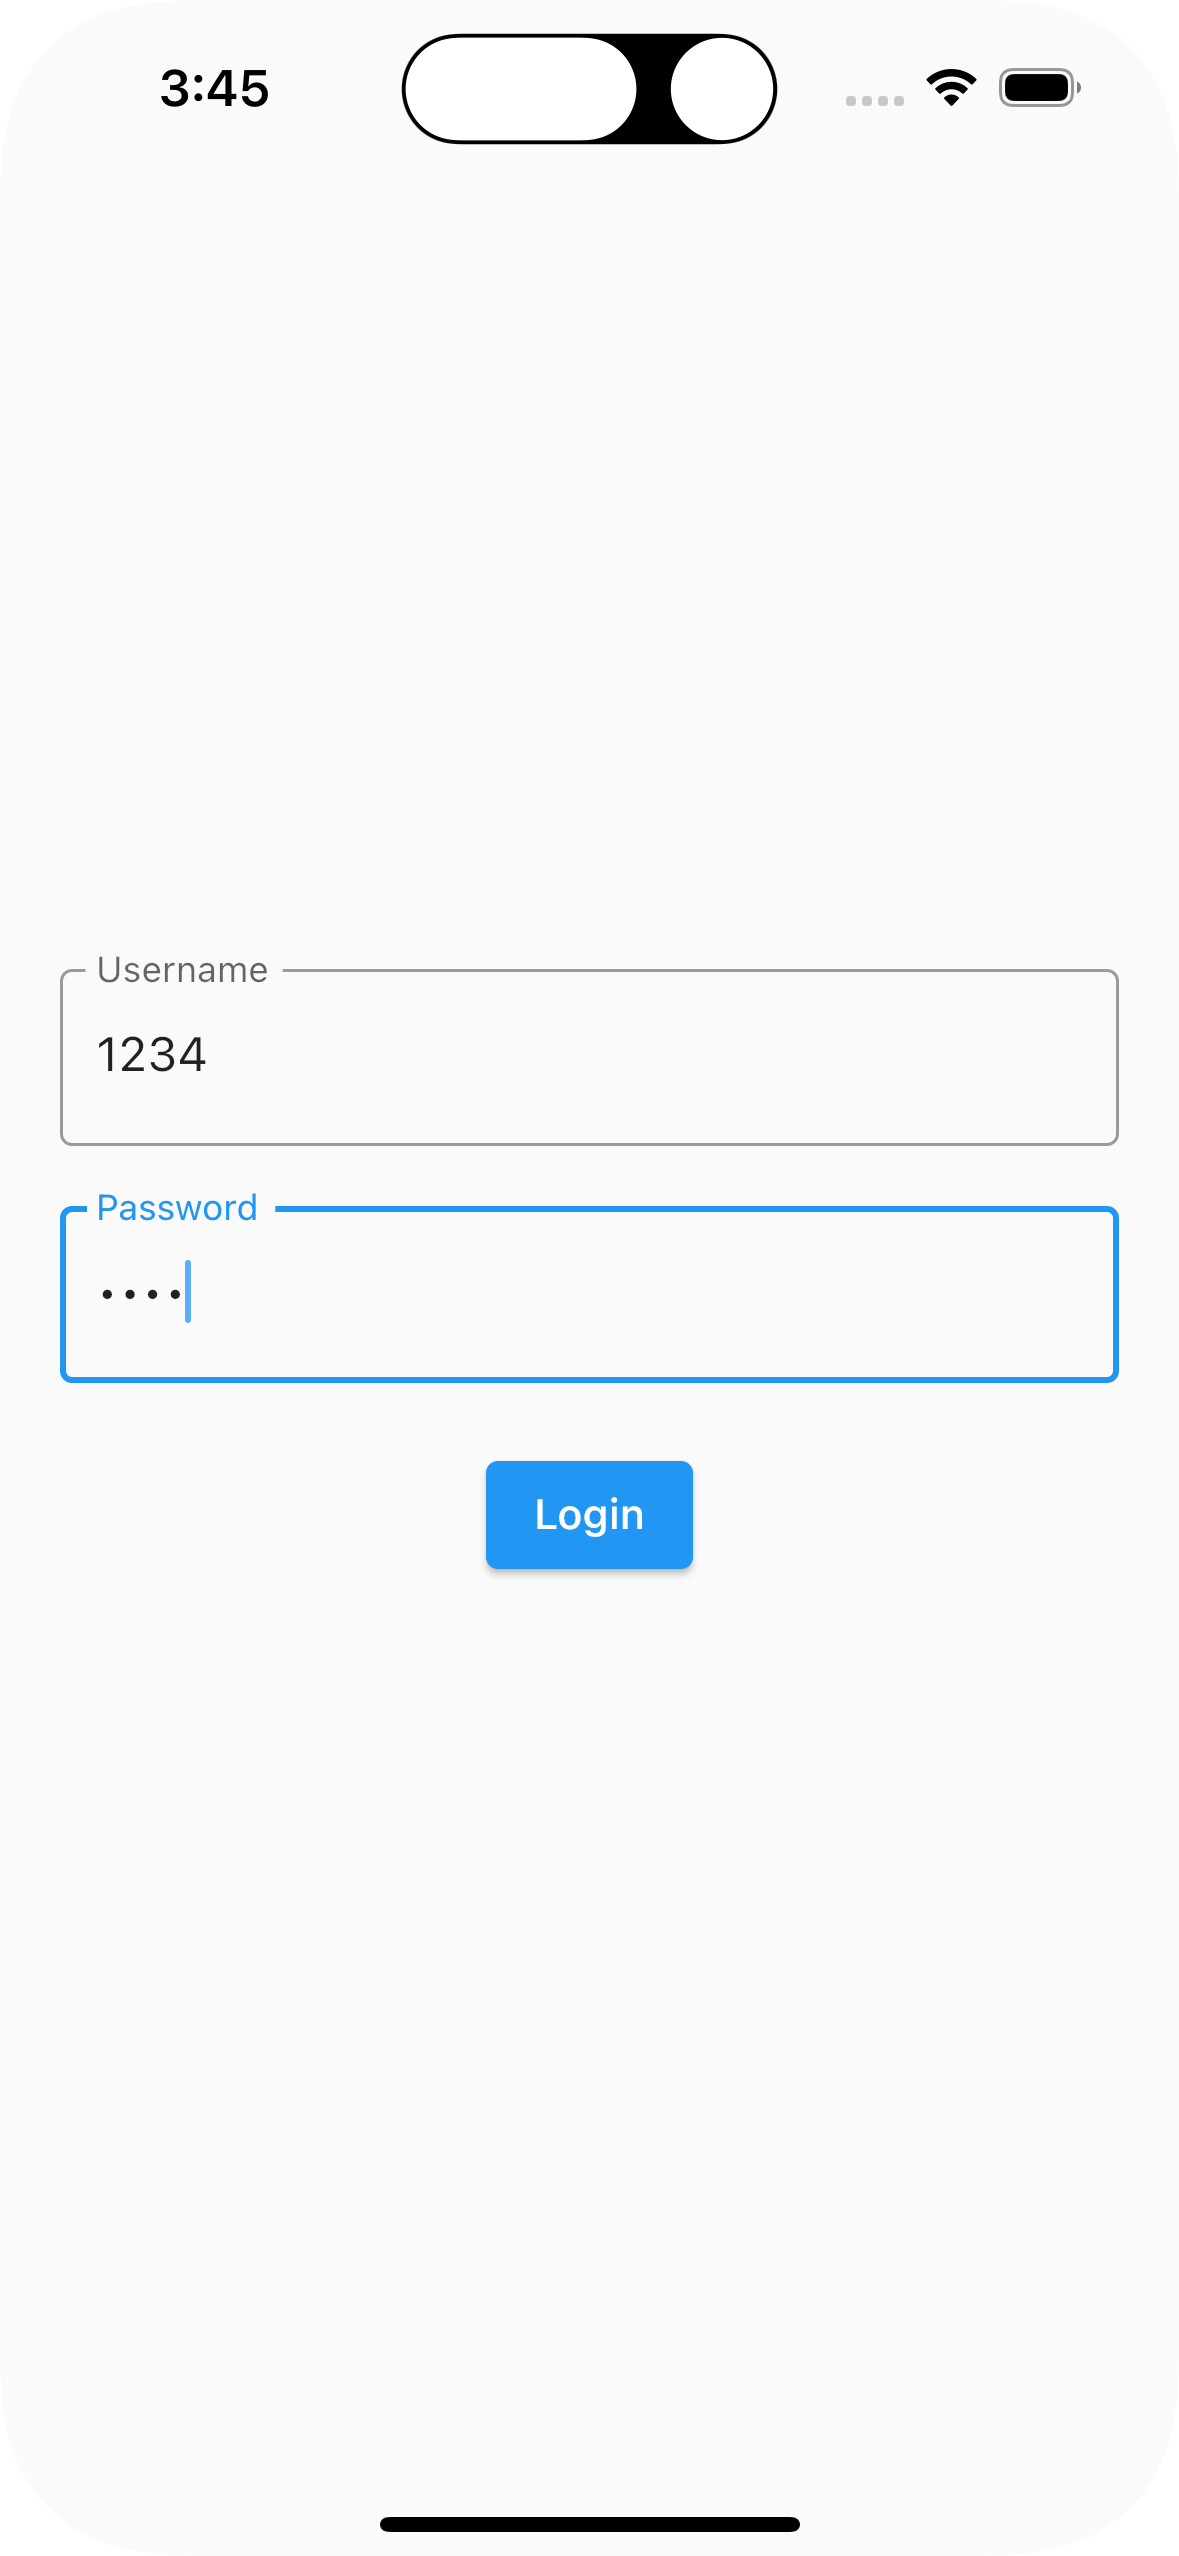
Step 3: Analyze Login Page
- Identify widgets using keys from the source code to aid in testing.
- Define important keys like
emailFieldKey,passwordFieldKey, andsnackBarKey.
Implementing Test Flows
- Define two flows: unauthenticated flow and authenticated flow.
- Write methods to handle actions like entering wrong credentials and navigating to the home screen.
Writing Tests
- Utilize the
pumpWidgetmethod to pump the actual app and simulate user interactions. - Follow the Robot Pattern to write tests that mimic user actions on the Login screen.
Conclusion
Integration tests are essential for testing different modules of an app as a group. By using the Robot Pattern, we can create robots for each screen and write tests that closely resemble user interactions. Once you have completed the implementation, reach out to the author on LinkedIn to share your progress.